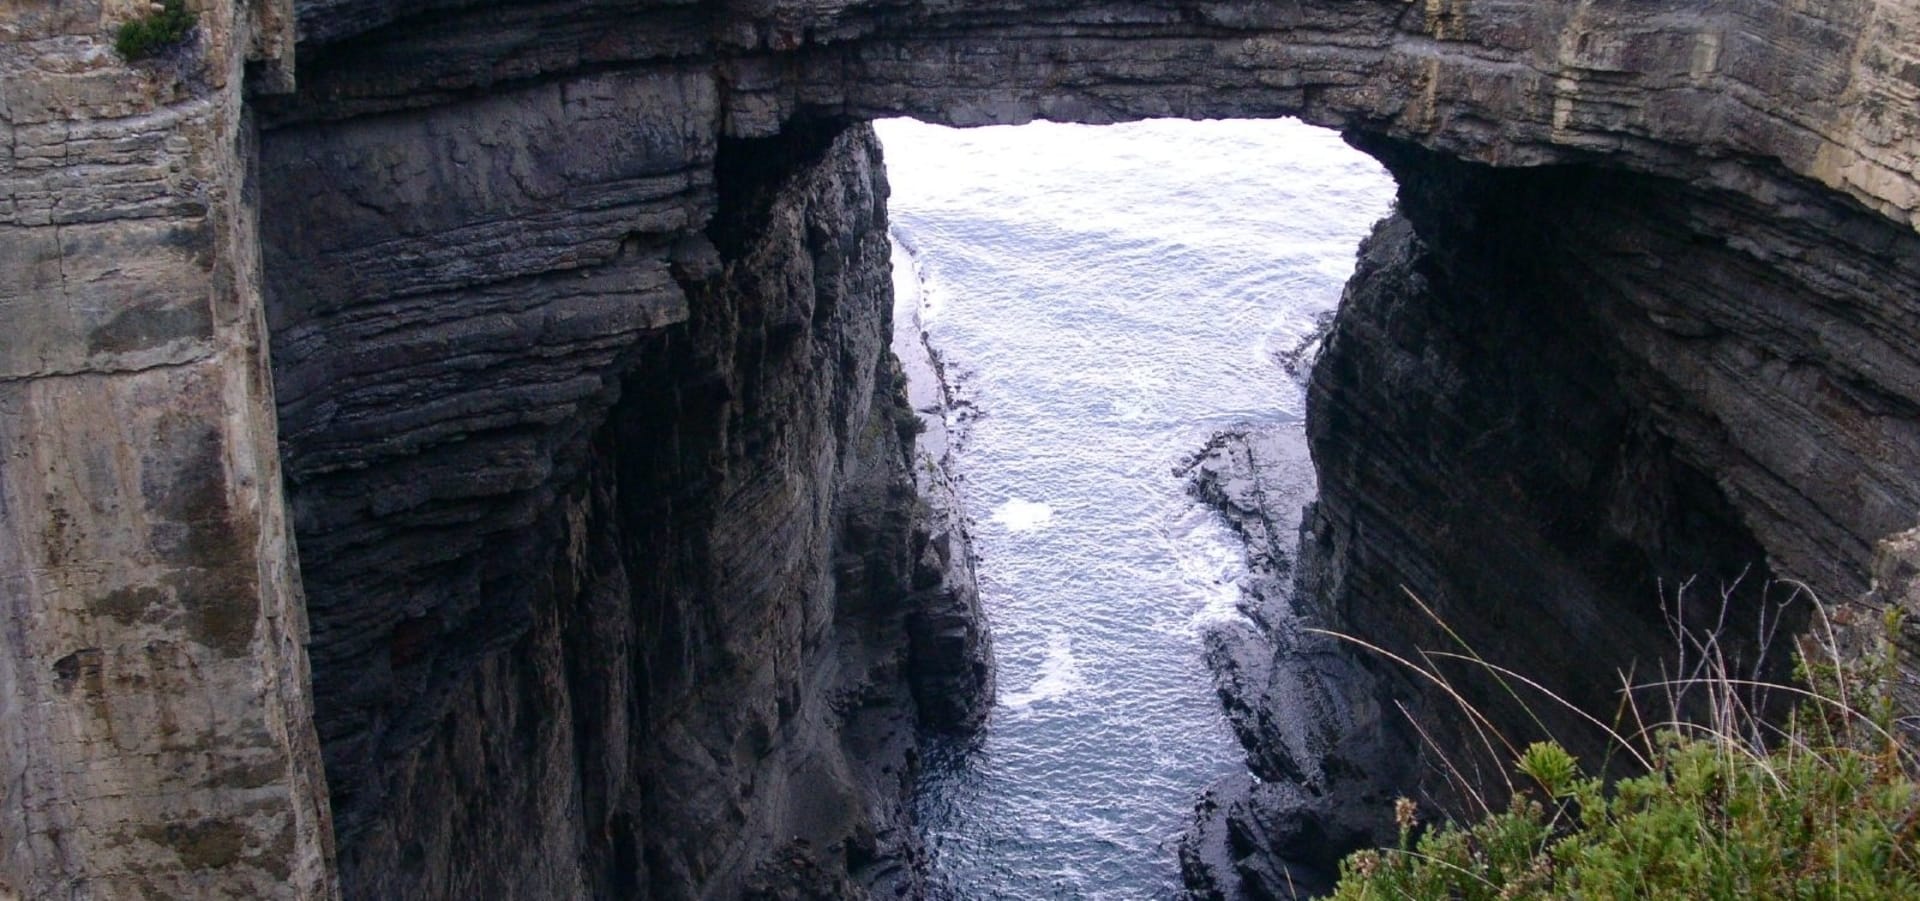
Tasmans Arch is a tall natural bridge in the sea cliffs of the Tasman Peninsula, that has also been carved out by the Tasman Sea. This beautiful geological formation is one of many which can be visited at Eaglehawk Neck and along the eastern side of the Tasman Peninsula. Follow the path to an observation platform with spectacular views of the dizzying hole and the coast. As long as you stay behind the railings, you can stroll across the arch or climb some of the sea cliffs. Devils Kitchen and Tasman Blowhole are two nearby sights.
Both Tasmans Arch and the nearby Devils Kitchen can be observed from their car parks and you can gain more perspective by walking a 0.9-kilometre loop walking track.
How was Tasmans Arch formed?
The roof of a massive sea cave, or tunnel, produced by wave action over thousands of years is what remains of Tasmans Arch. The cliff’s vertical cracks (joints) were acted on by the pressure of water and compressed air, sand, and stones, dislodging slabs and boulders.
Erosion has deepened or lengthened the tunnel over thousands of years. The tunnel eventually came to a break that runs parallel to the coast. At sea level, this fracture is connected to the Devils Kitchen. At this point, the roof collapsed, leaving a pit behind an arch.
Tasmans Arch was named after the Dutch explorer Abel Tasman, who played a key role in colonising Tasmania in the early 1800’s.
Directions
Most visitors will be traveling from Hobart, most likely incorporating this attraction into a full day trip exploring the Tasman Peninsula. Tasmans Arch is a 94 kilometre 1.5 hour drive. Follow the Tasman Highway out of Hobart to Sorell. Take a right onto the Arthur Highway, follow this road to Eaglehawk Neck. Take a left onto Blowhole Road then a right onto Tasmans Arch Road.